Setting Up OpenCode with Google Vertex AI on Enterprise Linux
Introduction
This guide provides a step-by-step walkthrough for installing the OpenCode CLI coding agent and configuring it to use Google Cloud Vertex AI as the model provider on Enterprise Linux 10 (EL10 / RHEL / Fedora).
Why This Matters
GPUs and dedicated cloud infrastructure are expensive, whereas local LLMs or cost-effective model APIs are more than sufficient for most daily development tasks. Facing a shortage of available AI services in my enterprise environment, I decided to leverage OpenCode—an open-source CLI coding agent—paired with Google Vertex AI, which is already approved and integrated in our cloud environment.
Unlike Google AI Studio, which is tailored for rapid prototyping with personal API keys, Vertex AI provides enterprise-grade security, IAM governance, and compliance controls natively within Google Cloud.
Prerequisites
- An Enterprise Linux host (EL10 / RHEL 10 / Fedora) with
sudoaccess - An active Google Cloud Platform (GCP) project with Vertex AI API enabled
curl,dnf, andbashinstalled
Step 1: Install OpenCode CLI
Install OpenCode using the official installation script and update your shell session:
curl -fsSL https://opencode.ai/install | bash
source ~/.bashrc
Step 2: Install Google Cloud CLI (Enterprise Linux / RHEL 10)
Add the official Google Cloud SDK repository to dnf:
sudo tee -a /etc/yum.repos.d/google-cloud-sdk.repo << 'EOM'
[google-cloud-cli]
name=Google Cloud CLI
baseurl=https://packages.cloud.google.com/yum/repos/cloud-sdk-el10-x86_64
enabled=1
gpgcheck=1
repo_gpgcheck=0
gpgkey=https://packages.cloud.google.com/yum/doc/rpm-package-key-v10.gpg
EOM
Install required dependencies and the Cloud SDK:
sudo dnf install -y libxcrypt-compat google-cloud-cli
Step 3: Initialize GCP & Set Environment Variables
Initialize gcloud and set your active project:
gcloud init
export GOOGLE_CLOUD_PROJECT="<YOUR_PROJECT_ID>"
gcloud config set project $GOOGLE_CLOUD_PROJECT
Export the necessary Vertex AI environment variables:
export GOOGLE_GENAI_USE_VERTEXAI=true
export VERTEX_LOCATION=global
export GOOGLE_CLOUD_PROJECT="<YOUR_PROJECT_ID>"
(Tip: Add these exports to your ~/.bashrc to make them persistent).
Step 4: Configure OpenCode Provider Settings
Edit your OpenCode configuration file (~/.config/opencode/opencode.json) to enable the Vertex AI provider:
mkdir -p ~/.config/opencode
nano ~/.config/opencode/opencode.json
Add the following configuration:
{
  "$schema": "https://opencode.ai/config.json",
  "model": "google-vertex/gemini-3.6-flash",
  "providers": {
    "google-vertex": {
      "package": "@opencode-ai/ai/providers/google-vertex",
      "options": {
        "location": "us-central1"
      },
      "models": {
        "gemini-3.6-flash": {
          "name": "Gemini 3.6 Flash"
        }
      }
    }
  }
}
Step 5: Authenticate Application Default Credentials (ADC)
Set up Application Default Credentials and set the quota project to allow API access:
# Login with Application Default Credentials
gcloud auth application-default login

# Set the quota project
gcloud auth application-default set-quota-project $GOOGLE_CLOUD_PROJECT

# (Optional) Verify enabled services
gcloud services list --enabled --project $GOOGLE_CLOUD_PROJECT
Step 6: Launch and Verify OpenCode
Now you can start using OpenCode backed by Vertex AI:
opencode
After launching OpenCode, verify that the active model displays Gemini 3.6 Flash Vertex in the terminal UI:
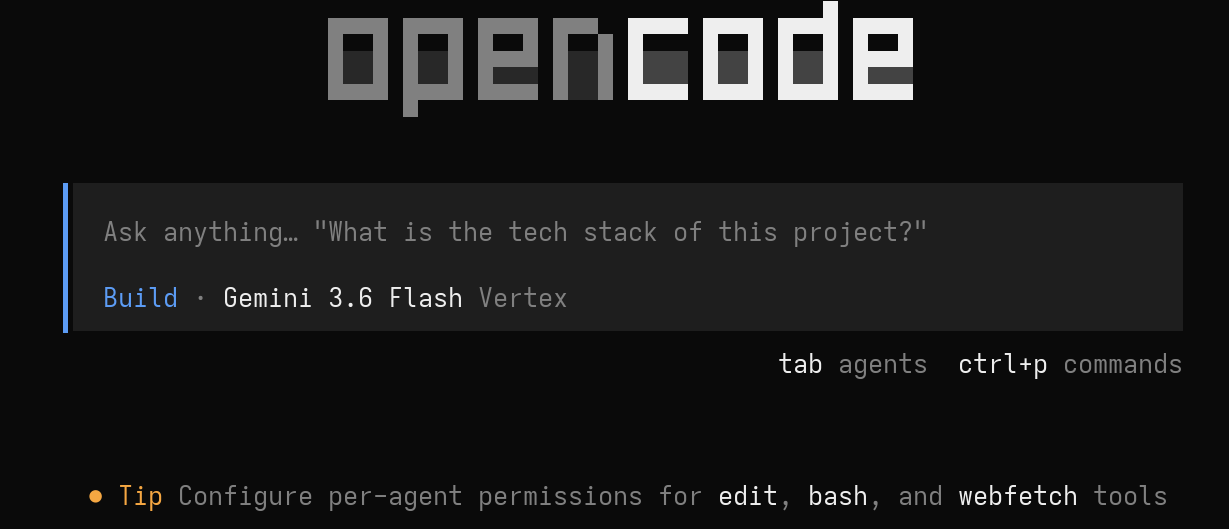
Once configured, test sending a prompt to ensure Vertex AI responds properly:
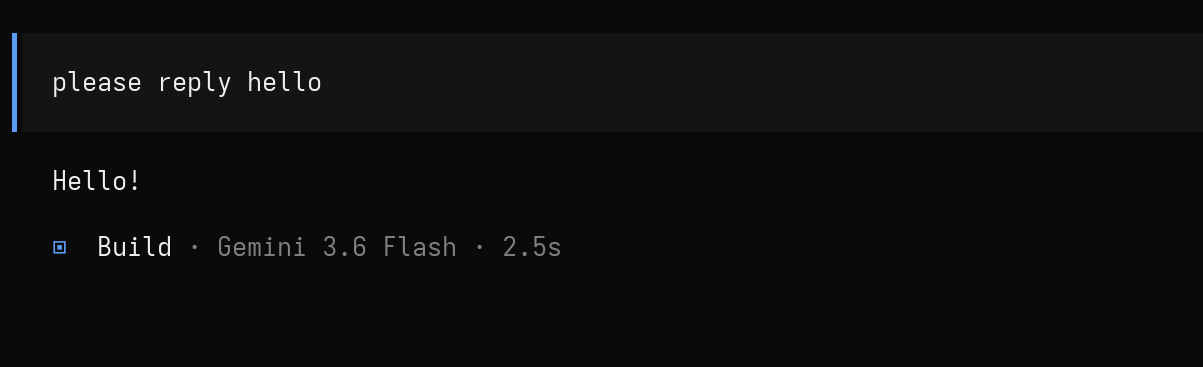
Troubleshooting & Tips
- Authentication Errors: Ensure
gcloud auth application-default loginhas been completed and that your account has theVertex AI UserIAM role. - Quota Project Errors: If you encounter quota errors, verify that
gcloud auth application-default set-quota-project $GOOGLE_CLOUD_PROJECTmatches your active GCP project ID. - Environment Variables Persistence: Ensure
GOOGLE_GENAI_USE_VERTEXAI=true,VERTEX_LOCATION=global, andGOOGLE_CLOUD_PROJECTare exported in your~/.bashrcor shell profile.
